How to dockerize Symfony (2022)
Coding (Symfony)
Read how easy it is to dockerize a Symfony application with this step-by-step tutorial

In this post, I am going to show you how to set up an entire local environment using Nginx, MySql and Symfony in just a few minutes.
In fact, I use the file displayed here for every project I start.
Let's get started with a question:
How long does it take to make a website?
To answer this question let me tell you a story.
Many years ago I was living in a little village at the border of London (UK).
Almost every evening, after work, I used to go up the hills outside the city center to look at the light of London’s skyscrapers.
My dream was to get a job as a web developer in one of that buildings.
To do so I had two goals:
- improve my skills, thus my CV;
- display my skills in creating a brand new portfolio website;
The plan worked out very well and after exactly 12 months I was living and working in the heart of London.
Since then many things have changed.
I got new jobs, acquired other skills, and created many connections in the field.
Yet, one thing has stayed the same all this time.
My website has been the same since then.
It only took 5 years but I finally decided to update my personal website.
I’ll do it using Symfony 6 and Docker.
How can you do it too?
Easy answer! The solution is in this article.
What is Symfony?
This is not a guide on what PHP frameworks and Symfony are.
I have already written what is it and why Symfony 6 is perfect for your next project.
Shortly, Symfony is one of the most popular PHP frameworks currently available.
It is a set of components well put together to make the life of a developer easy.
Not to mention a project running faster and without issue.

What is Docker?
The second main section of the project is having Docker.
In the past, I have written about it too.
Here is the article that shows how to containerize your PHP application using docker.
In 2 cents,
Docker is a platform that supports developers in building and running applications.
Containers represent a single process.
Those containers can be set together to create an entire project.
That is very convenient.
Why?
Because now your laptop at home and your office’s pc can ‘download’ the same container.
Having the same container will make your project work without issues.
What do you need to start?
Symfony is a PHP framework, we also need to have a web server on which PHP can run.
Let’s not forget that we want some persistence of data.
That means we need a database.
Do we need to install all these?
Not at all,
The only thing that we need is Docker.
It will take care of pulling everything else.
If you want to save this project or update it in the future you can add version control to it.
Time to set up the project,
Let’s start!
Creating the docker-compose
Docker is the perfect tool to pull out from the sleeves when you need to use a process of some sort.
When creating a multi-container application, like the one we are about to create, we need another tool.
Compose is an instrument that defines and runs multi-container Docker applications.
The way those containers are defined is via a YAML file called docker-compose.
Here is the link to the full Compose documentation.
In short, this file can have one or many keys.
We are going to use 3 of them.
They are:
- version specifies the version of the docker-compose file, it makes Docker understand what it has to do;
- networks specify the relationship among the services, it indicates which ones are related to one another;
- service lists all the containers needed for the given project, in here we also provide details on how these services need to run;
What we need for our project are 3 different services.
The first is the web server our application must run on.
Then we need to add PHP.
Specifying what version of it we want.
We also need a database that stores our data.
All these services will be connected to each other.
It means I should create a network that links them together.
Here is the complete file.
version: '3'
services:
    nginx-service:
        image: nginx:stable-alpine
        container_name: nginx-container
        ports:
            - "8080:80"
        volumes:
            - ./app:/var/www/project
            - ./nginx/default.conf:/etc/nginx/conf.d/default.conf
        depends_on:
            - php81-service
            - mysql8-service
        networks:
            - nginx-php81-mysql8
    php81-service:
        build:
            context: .
            dockerfile: ./php/Dockerfile
        container_name: php81-container
        ports:
            - "9000:9000"
        volumes:
            - ./app:/var/www/project
        networks:
            - nginx-php81-mysql8
    mysql8-service:
        image: mysql:8
        container_name: mysql8-container
        ports:
            - "3306:3306"
        volumes:
            - ./mysql:/var/lib/mysql
        command: --default-authentication-plugin=mysql_native_password --character-set-server=utf8mb4 --collation-server=utf8mb4_unicode_ci
        restart: always # always restart unless stopped manually
        environment:
            MYSQL_ROOT_PASSWORD: secret
            MYSQL_PASSWORD: secret
        networks:
            - nginx-php81-mysql8
networks:
    nginx-php81-mysql8:
Given their numbers, I will not go over all the items in this file.
Subscribe to my newsletter to be updated when I do it.

Nginx configuration
Given the high-level details of our services have been already established it is time to get into the details.
Starting with our web server configuration.
Our docker-compose file specifies that the configuration will be inside the Nginx folder.
Let’s create a default.conf and add some stuff to it.
I am not a server configuration expert, also I don’t need to be as Symfony provides several web server configurations depending on our needs.
Let’s visit the official Symfony Nginx configurations page and copy what we need.
server {
    listen 80;
    index index.php;
    server_name localhost;
    root /var/www/project/public;
    location / {
        try_files $uri /index.php$is_args$args;
    }
location ~ ^/index\.php(/|$) {
        fastcgi_pass php82-service:9000;
        fastcgi_split_path_info ^(.+\.php)(/.*)$;
        include fastcgi_params;
        fastcgi_param SCRIPT_FILENAME $realpath_root$fastcgi_script_name;
        fastcgi_param DOCUMENT_ROOT $realpath_root;
        fastcgi_buffer_size 128k;
        fastcgi_buffers 4 256k;
        fastcgi_busy_buffers_size 256k;
        internal;
    }
location ~ \.php$ {
        return 404;
    }
error_log /var/log/nginx/project_error.log;
    access_log /var/log/nginx/project_access.log;
}
You might have noticed that I have added some new fields.
These updates are due to the docker-composer file we updated earlier.
We want to listen to port 80, which is linked to port 8080 on our Nginx container.
Also, I changed the server_name to localhost for simplicity reasons.
We are using the name of the PHP service as a value of the fastcgi_pass field.
One last thing is dealing with 502 errors.
Nginx has a bad habit to overwrite Symfony making it more difficult to debug.
To overcome this issue we will need to add more size to the FastCGI buffer.

PHP Dockerfile
There is a difference between the way we pull the web server container and the way we update the PHP one.
PHP uses a Dockerfile instead of pulling the image from DockerHub.
There are many advantages to doing it.
One of the most important is that we can personalize how we want PHP to work.
Let’s create a PHP folder at the root of our project and add a Dockerfile to it.
FROM php:8.1-fpm
RUN apt-get update && apt-get install -y zlib1g-dev g++ git libicu-dev zip libzip-dev zip \
    && docker-php-ext-install intl opcache pdo pdo_mysql \
    && pecl install apcu \
    && docker-php-ext-enable apcu \
    && docker-php-ext-configure zip \
    && docker-php-ext-install zip
WORKDIR /var/www/project
RUN curl -sS https://getcomposer.org/installer | php -- --install-dir=/usr/local/bin --filename=composer
RUN curl -sS https://get.symfony.com/cli/installer | bash
RUN mv /root/.symfony/bin/symfony /usr/local/bin/symfony
RUN apt-get update && apt-get install -y zlib1g-dev g++ git libicu-dev zip libzip-dev zip \
    && docker-php-ext-install intl opcache pdo pdo_mysql \
    && pecl install apcu \
    && docker-php-ext-enable apcu \
    && docker-php-ext-configure zip \
    && docker-php-ext-install zip
The first task this file do is to pull the PHP 8.1 image.
I you are a beginner and want to know more, here is a tutorial about the basics of PHP
Then it runs a series of commands that install extensions, enable database, PDO, etc.
It set up the working directory and install composer and Symfony CLI.
We only need 15 lines to make it work.

The Database
The database service works similarly to the PHP one.
I have already shared the docker-compose file above.
Let’s go over the fields now and explain some details.
In this case, we are going to use a ready-to-use image.
That will be MySQL with a tag of 8.
The ports field indicates what port needs to communicate between the service and the host.
In our case, that will be 4306.
The official documentation tells us that we need to add other 3 fields:
- command;
- restart;
- environment;
In the first, the file lists a series of database information.
Restart indicates what Docker has to do in case of a crash.
In this case, we want MySQL to always restart automatically.
The environment contains an array of items that we use to add a user’s credentials.
Lastly. the volume will be created from var/lib/mysql into the /mysql directory.
Mysql is part of the network.
We do not need to update any database configuration this time.
Starting the Web Server
Now that everything has been set up it is time to play.
I am going to show you what the logic is and what is the command to make this project work.
First thing first we start with the web server.
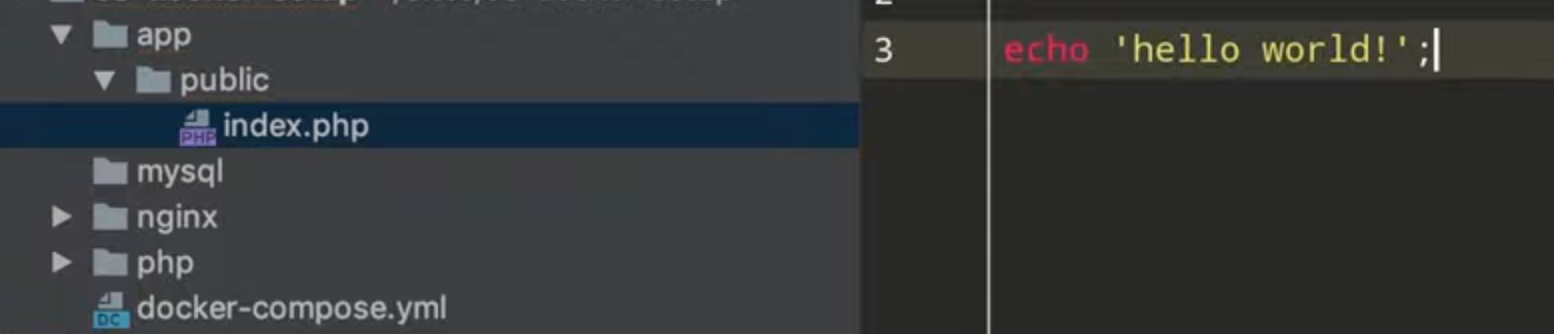
You can see that the volume of the project shows the path /var/www/project.
In the Nginx configuration file, we have a root of the public folder inside that folder and an index file called index.php.
What we need to do is to add this folder and this file inside our app directory.
In there we can simply echo a ‘Hello world! ’ message to show that the web server works properly.
The last step is to build these images and turn on the services.
Docker allows us to do it with a single command.
Which is:
docker-compose up -d — build
This will spin up the images, pull everything needed from Docker Hub and show a local host URL that we can use to see our message.
How easy was that?
Installing Symfony
Until now we have only set up the containers to make the project work.
From now on we are actually working on the web application part of the project.
It is not time to install Symfony on our web server and start our IDE up.
To start with we are going to delete a folder.
We currently have the public folder inside our app directory.
This folder’s only purpose was to check if our web server works.
Now that we know it does, we don’t need index.php anymore.
With our first command, we need to get inside the PHP container.
We do this by typing the following in the terminal.
docker exec -it php81-container bash
It allows getting into the terminal or our PHP container.
Once inside we can pull and create our Symfony project.
composer create-project symfony/skeleton:"6.2.*" .
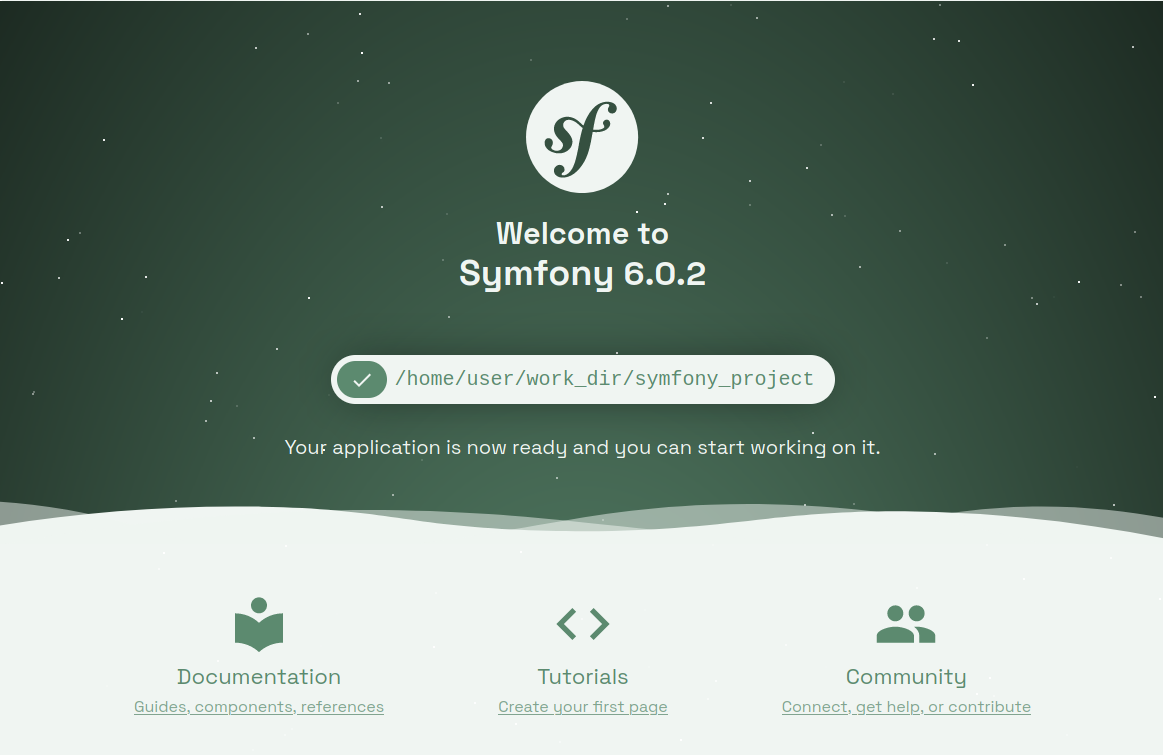
Now all the new files should be in the app folder.
If you go to your browser you should be able to see the Symfony landing page.
Generating the Gitignore
Now that we installed our web application we can start with the details.
First thing first, I’ll introduce gitignore.io.
This application allows you to copy gitignore files by typing a little information.
Info such as what SO you are working on, the programming language of your choice, and the IDE you are using.
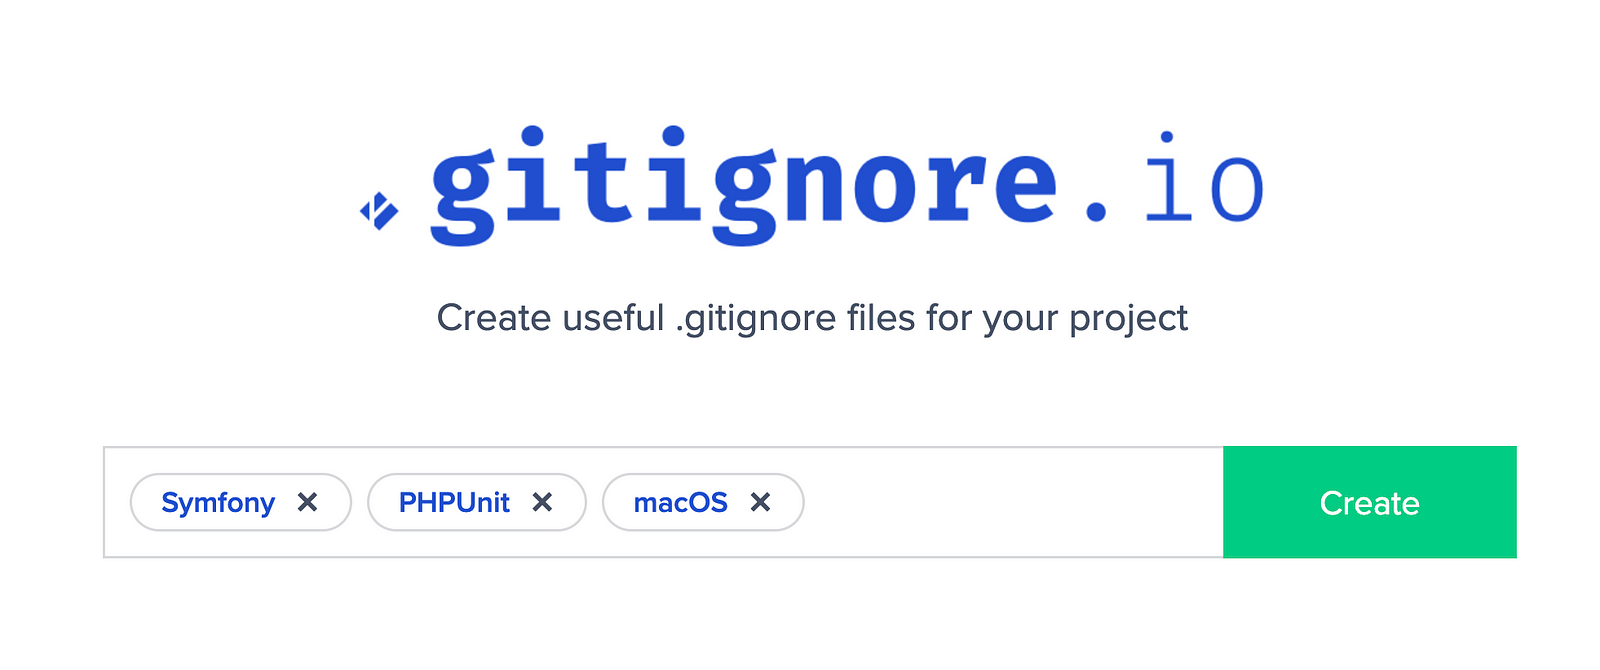
By clicking the Create button a gitignore file will be generated.
Here is an example:
# Created by https://www.toptal.com/developers/gitignore/api/symfony,phpunit,macos
# Edit at https://www.toptal.com/developers/gitignore?templates=symfony,phpunit,macos### macOS ###
# General
.DS_Store
.AppleDouble
.LSOverride
# Icon must end with two \r
Icon
# Thumbnails
._*
# Files that might appear in the root of a volume
.DocumentRevisions-V100
.fseventsd
.Spotlight-V100
.TemporaryItems
.Trashes
.VolumeIcon.icns
.com.apple.timemachine.donotpresent
# Directories potentially created on remote AFP share
.AppleDB
.AppleDesktop
Network Trash Folder
Temporary Items
.apdisk
### macOS Patch ###
# iCloud generated files
*.icloud
### PHPUnit ###
# Covers PHPUnit
# Reference: https://phpunit.de/
# Generated files
.phpunit.result.cache
.phpunit.cache
# PHPUnit
/app/phpunit.xml
/phpunit.xml
# Build data
/build/
### Symfony ###
!app/cache/.gitkeep
!app/logs/.gitkeep
# Email spool folder
/app/spool/
# Cache, session files and logs (Symfony3)
/var/cache/
/var/logs/
/var/sessions/
!var/cache/.gitkeep
!var/logs/.gitkeep
!var/sessions/.gitkeep
# Logs (Symfony4)
/var/log/
!var/log/.gitkeep
# Parameters
/app/config/parameters.yml
/app/config/parameters.ini
# Managed by Composer
/app/bootstrap.php.cache
/var/bootstrap.php.cache
/bin/
!bin/console
!bin/symfony_requirements
/vendor/
# Assets and user uploads
/web/bundles/
/web/uploads/
# PHPUnit
# Build data
# Composer PHAR
/composer.phar
# Backup entities generated with doctrine:generate:entities command
**/Entity/*~
# Embedded web-server pid file
/.web-server-pid
### Symfony Patch ###
/web/css/
/web/js/
# End of https://www.toptal.com/developers/gitignore/api/symfony,phpunit,macos
Installing Doctrine
One last thing before I finish this article is setting up the database and installing an ORM.
An ORM let you make queries and retrieve records as OOP objects.
That is perfect because then, we can manipulate the result the way we want.
To add doctrine to our project we need to require it via composer.
On the PHP bash let’s type the following:
composer require doctrine
We can only use the keyword doctrine because we are using Symfony flex to download recipes.
In reality, what Symfony does behind the scene is to pull a package called symfony/orm-pack that contains all the code needed.
Another step we need to add is the database’s connection details.
We do so by updating the env file in the root of our PHP project.
The field we need to update is the DATABASE_URL.
It is a string and needs to contain all the credentials of our database.
DATABASE_URL="mysql://db_user:db_password@127.0.0.1:3306/db_name?serverVersion=5.7"
Time to create our database.
Another simple command here.
On the terminal type, exit to stop the bash and run the doctrine command.
docker-compose run — rm php81-service php bin/console doctrine:database:create
Conclusion
Symfony is an amazing tool to use to create web applications.
Joining this with the power of Docker will make any project a web development dream.
It seems complicated but if you follow my step-by-step guide I am sure you won’t find any difficulties.
You will see how easy it is to make this project up and running.
If you enjoyed this content join my newsletter and follow me on Medium.
More content on the subject is already in preparation.